how to use google slides
Google Slides is a browser-based tool for creating presentations. It saves your work automatically and makes it easy to share a deck with classmates, teammates, clients, or coworkers. If you need to make slides without installing desktop software, Google Slides is one of the simplest places to start.
This guide explains how to use Google Slides step by step, from creating a new file to adding content, presenting, and sharing your finished deck.
Create a new presentation
Open Google Slides from your Google account and choose either a blank presentation or a template. A blank presentation gives you full control, while a template gives you a ready-made design.
After the file opens, rename it in the top-left corner. Choose a clear name, such as "Biology Project," "Team Update," or "Q3 Sales Review." Google Slides saves changes automatically, so you can focus on building the deck.
The slide thumbnails appear on the left. The selected slide appears in the center. The toolbar lets you insert content, change layouts, and format objects.
Choose a theme
A theme controls the fonts, colors, backgrounds, and default slide styles in your presentation. To choose one, open the theme panel and select a design that fits your topic.
For most beginners, a simple theme is the safest choice. Look for readable text, strong contrast, and layouts that leave enough space for images or charts.
Try to use the same theme across the full deck. Consistent design helps your slides feel connected.
Add and organize slides
Click the plus button to add a new slide. You can also choose layouts such as title slide, title and body, section header, image with text, or blank slide.
Before adding too much detail, create a simple outline. A basic presentation might include:
- Title slide
- Introduction
- Main point 1
- Main point 2
- Main point 3
- Summary
- Next steps or closing slide
This keeps the deck easy to follow. If a slide has too many ideas, split it into two slides. One clear idea per slide is usually better than a crowded page of text.
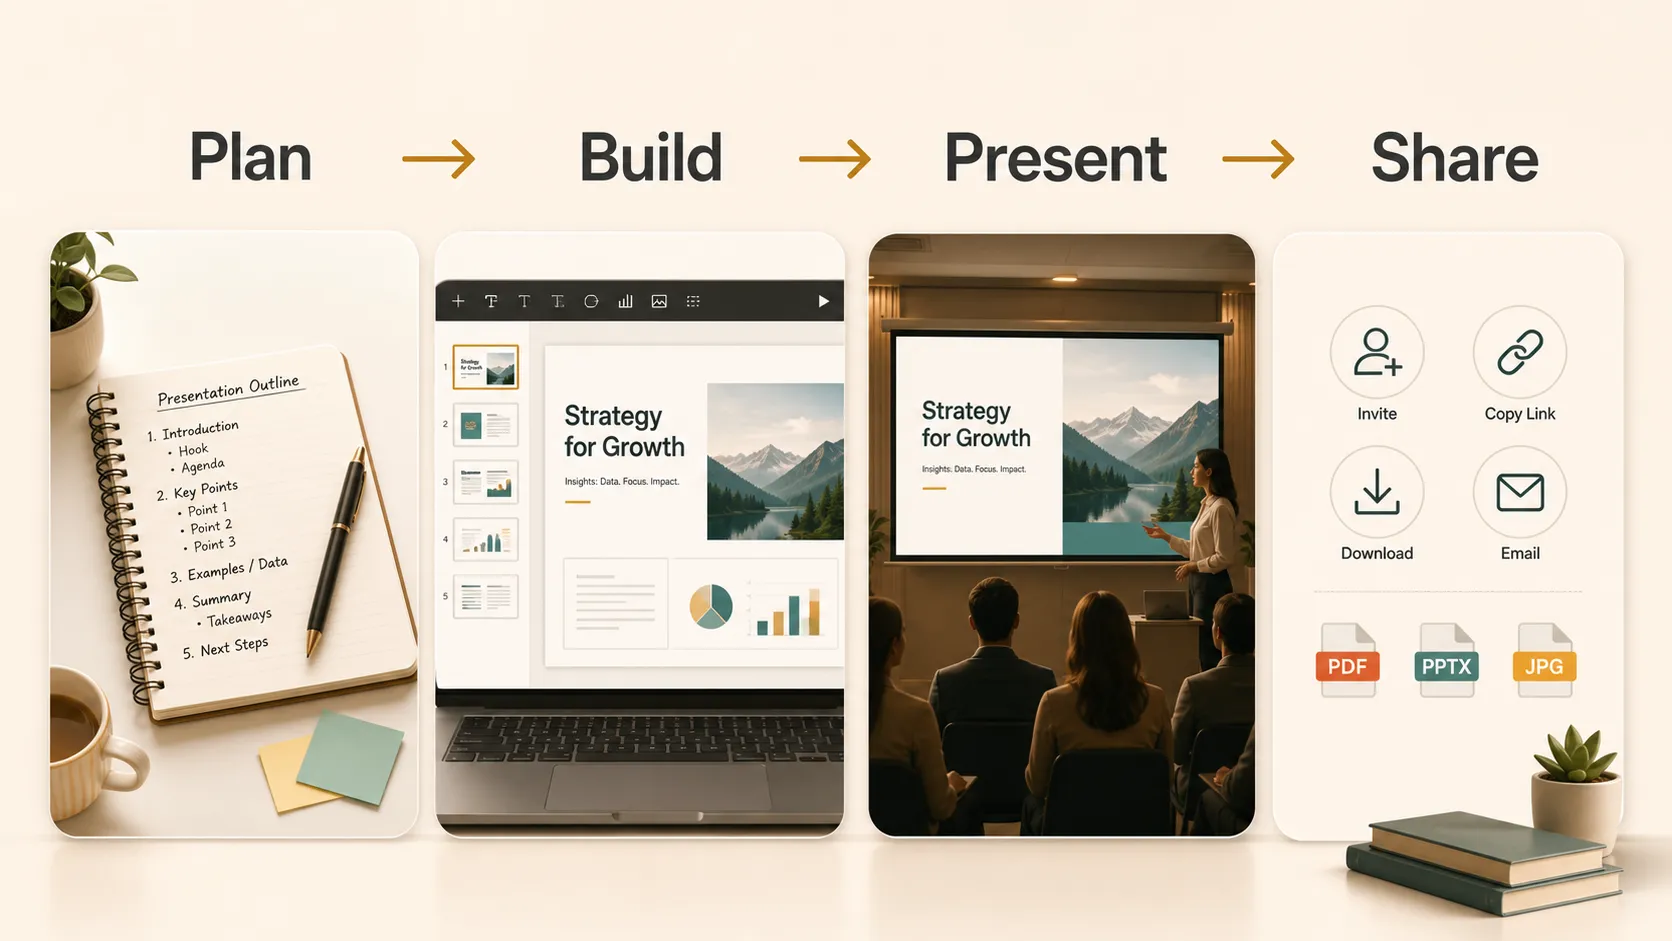
| Stage | What to do | Why it helps |
|---|---|---|
| Plan | Write the main message before designing | Keeps the deck focused |
| Build | Add slides in a clear order | Makes the story easier to follow |
| Edit | Shorten text and improve visuals | Helps the audience scan quickly |
| Present | Test the deck in full-screen mode | Catches readability and media issues |
| Share | Choose link, PDF, or PowerPoint export | Matches the format to the situation |
Add and format text
To add text, click a placeholder or insert a text box. Use the title area for the main idea of the slide, then use short supporting points in the body.
Avoid pasting long paragraphs onto slides. If you need more detail, put it in speaker notes instead. Your audience should be able to understand the slide quickly while still listening to you.
Use formatting consistently. Keep slide titles the same size, align text boxes neatly, and avoid too many fonts or colors. Clear formatting makes the presentation easier to read.
Insert images, charts, videos, and links
Google Slides can include images, shapes, charts, videos, and links. Images are useful for examples, diagrams, screenshots, or visual proof. Resize images from the corners so they do not stretch.
Shapes and lines can help you build simple diagrams, callouts, and process flows.
Charts are helpful when you need to show data. Use bar charts for comparisons, line charts for trends, and tables when exact numbers matter.
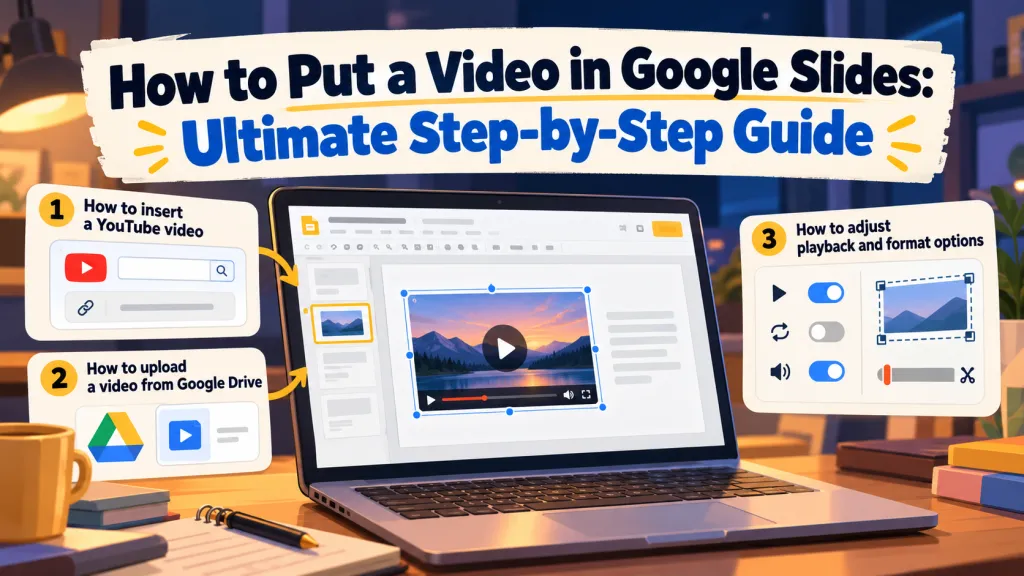
You can also insert videos for demos or lessons. Links can point to documents, forms, source pages, or other resources.
Start from existing notes or documents
Sometimes the slowest part of making slides is turning raw material into a clear structure. You may already have a project brief, class notes, a PDF, or a webpage, but still not know how to arrange it into slides.
In that situation, Pi can be useful as a starting point. You can use Pi to turn source material into an early presentation draft, then bring your own judgment to the structure, wording, and examples. After that, Google Slides is still where you can refine the deck, collaborate with others, present it, and share the final version.
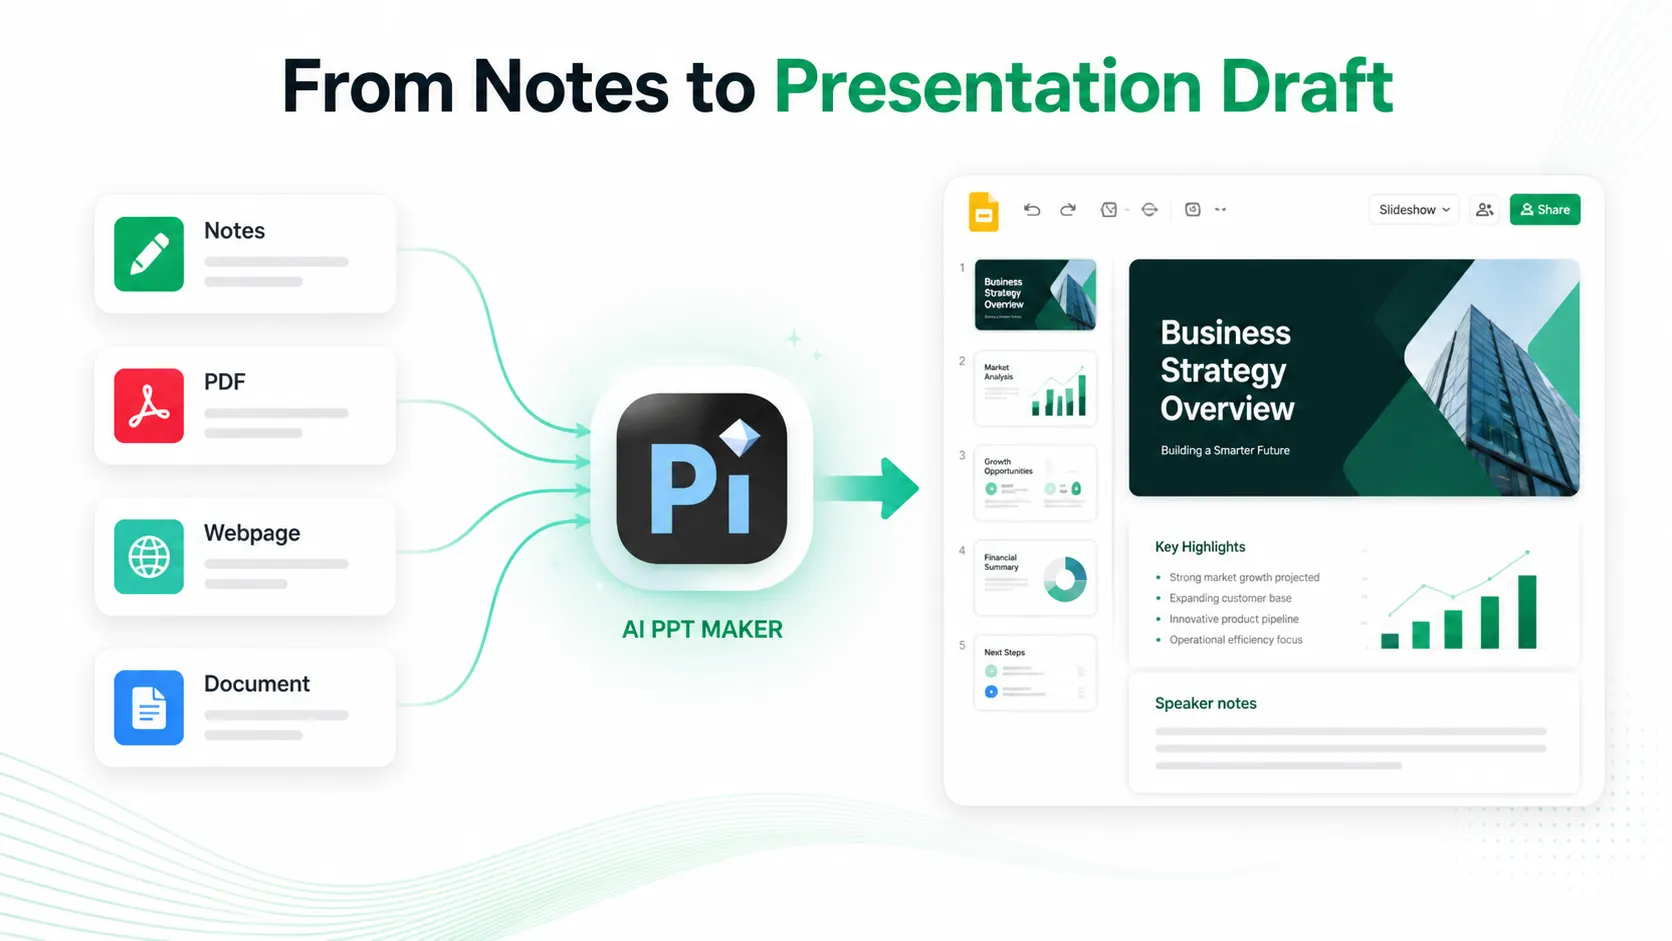
This feels more natural than treating slide creation as a one-click process. Pi helps with the first pass; you still shape the message for your audience.
Use speaker notes
Speaker notes help you remember what to say without putting every word on the slide. In Google Slides, the notes area appears below the slide editor. If it is hidden, turn it on from the view options.
Use notes for talking points, examples, reminders, or transitions. This keeps the visible slide clean while giving you support during the presentation.
Speaker notes are helpful for class presentations, business reviews, webinars, and recorded talks.
Collaborate with others
Google Slides is built for collaboration. Click the share button and choose who can access the file. You can give people viewer, commenter, or editor permission.
Viewer access is best when someone only needs to read the deck. Commenter access is good for feedback. Editor access is best for teammates making changes with you.
Comments make review easier. You can leave notes, assign issues, and resolve them when changes are complete.
Present your deck
When your slides are ready, click present to start the slideshow. You can move through slides with your keyboard, mouse, or on-screen controls.
Before presenting, review the deck in full-screen mode. Check that text is readable, images are clear, videos play correctly, and links work.
Practice your opening and transitions. A strong presentation is not only about good-looking slides; it is also about pacing and clarity.
Share, download, or export
Google Slides gives you several ways to share your finished presentation. You can send a link, invite collaborators, download it as a PowerPoint file, or export it as a PDF.
Use a link when people need to view, comment, or edit online. Download as PowerPoint when someone needs a `.pptx` file. Export as PDF when you want a fixed version.
If you download your deck to PowerPoint, open the file and check the formatting. Fonts, spacing, and media can shift slightly between tools.
The Verdict
Keep each slide focused on one main idea. Use specific titles, not vague ones like "Overview" or "Data." Align objects neatly, leave enough space around text, and choose high-contrast colors.
Do not overuse animations or decorative effects. Simple transitions are usually enough. The audience should focus on your message, not the movement of the slides.
Learning how to use Google Slides is mostly about building a clear workflow: outline the message, add focused content, make the design readable, use speaker notes, and share the deck in the right format. When you already have notes or documents, Pi can help you get to a first draft faster, while Google Slides gives you the tools to polish and present it your way.
Frequently Asked Questions (FAQ)
Q: Is Google Slides free?
A:Yes. Google Slides is free with a Google account. Some schools and companies use it through Google Workspace, but the basic presentation features are available to individual users.
Q:Can I use Google Slides offline?
A:Yes, but you need to set up offline access before you lose internet access. After that, you can open and edit available files offline, and changes will sync when you reconnect.
Q: Can I download Google Slides as PowerPoint?
A:Yes. You can download a Google Slides presentation as a PowerPoint file. After downloading, open the file and check the formatting because fonts, spacing, or media may shift slightly.
Q: Can Pi help with a Google Slides presentation?
A:Pi can help when you already have notes, documents, PDFs, or webpages and need a first draft. You can then revise the structure, add your own examples, and finish the deck in Google Slides.