PPT Design Tutorial: How to Build the Horizontal "Waistband" Layout
This actionable guide provides specific execution steps for constructing the professional horizontal "Waistband" layout in your presentation slides. Follow these strict parameter configurations and formatting sequences to organize complex information effectively.
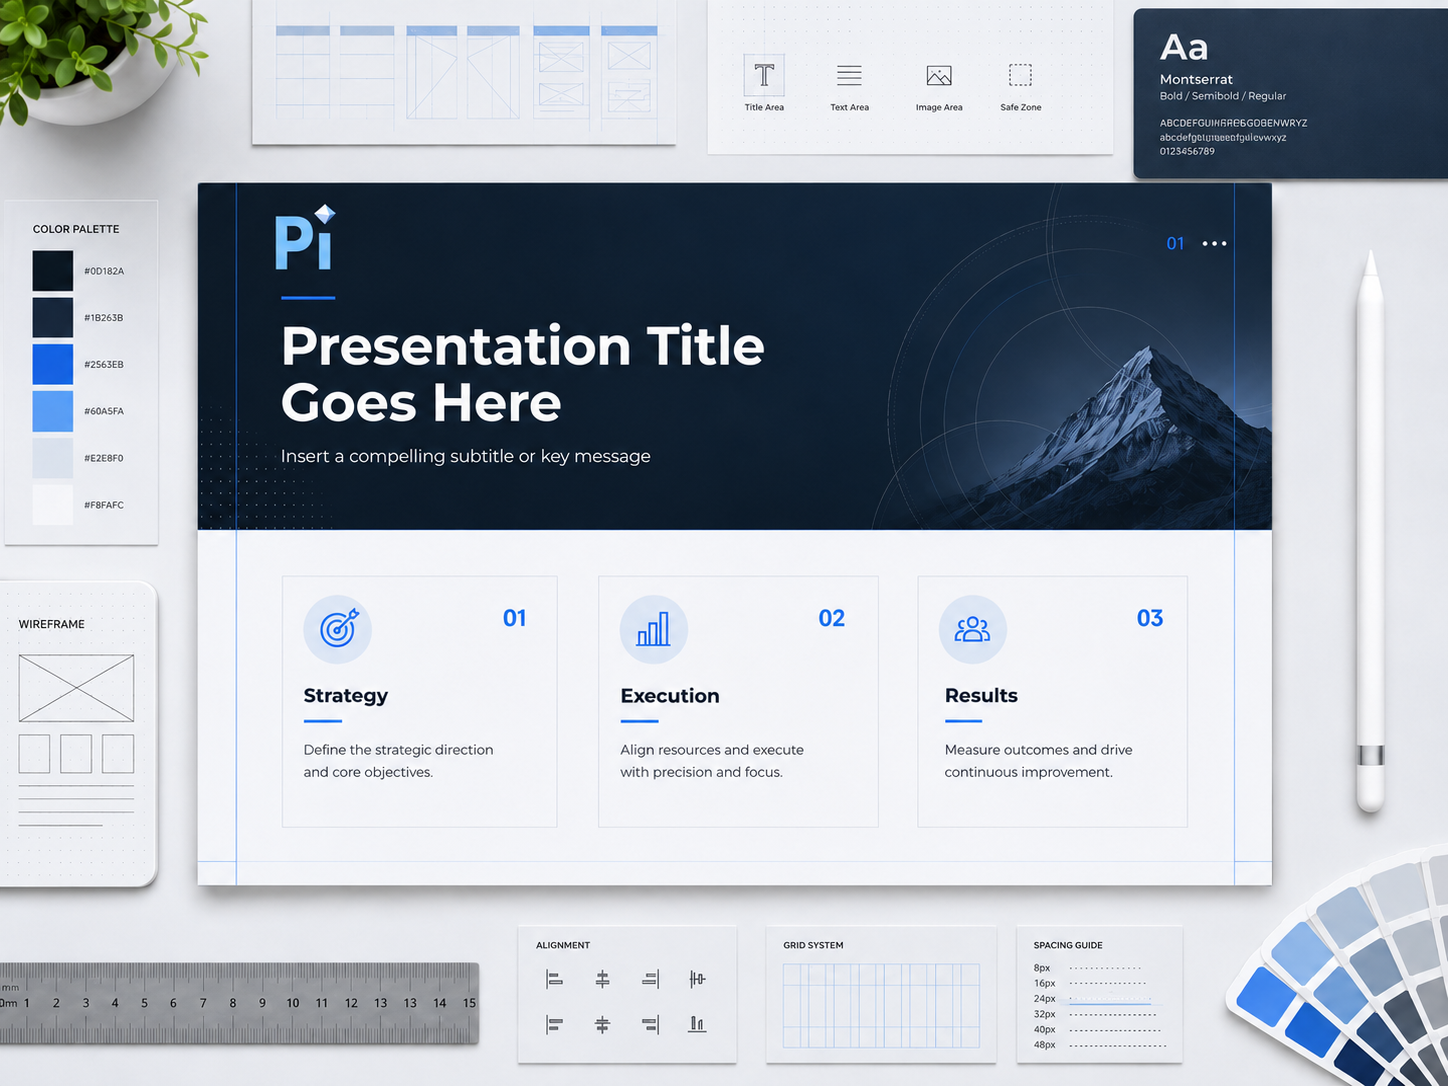
Step 1: Initializing the Core Framework
Execute the following steps to establish the foundational layout of your slide:
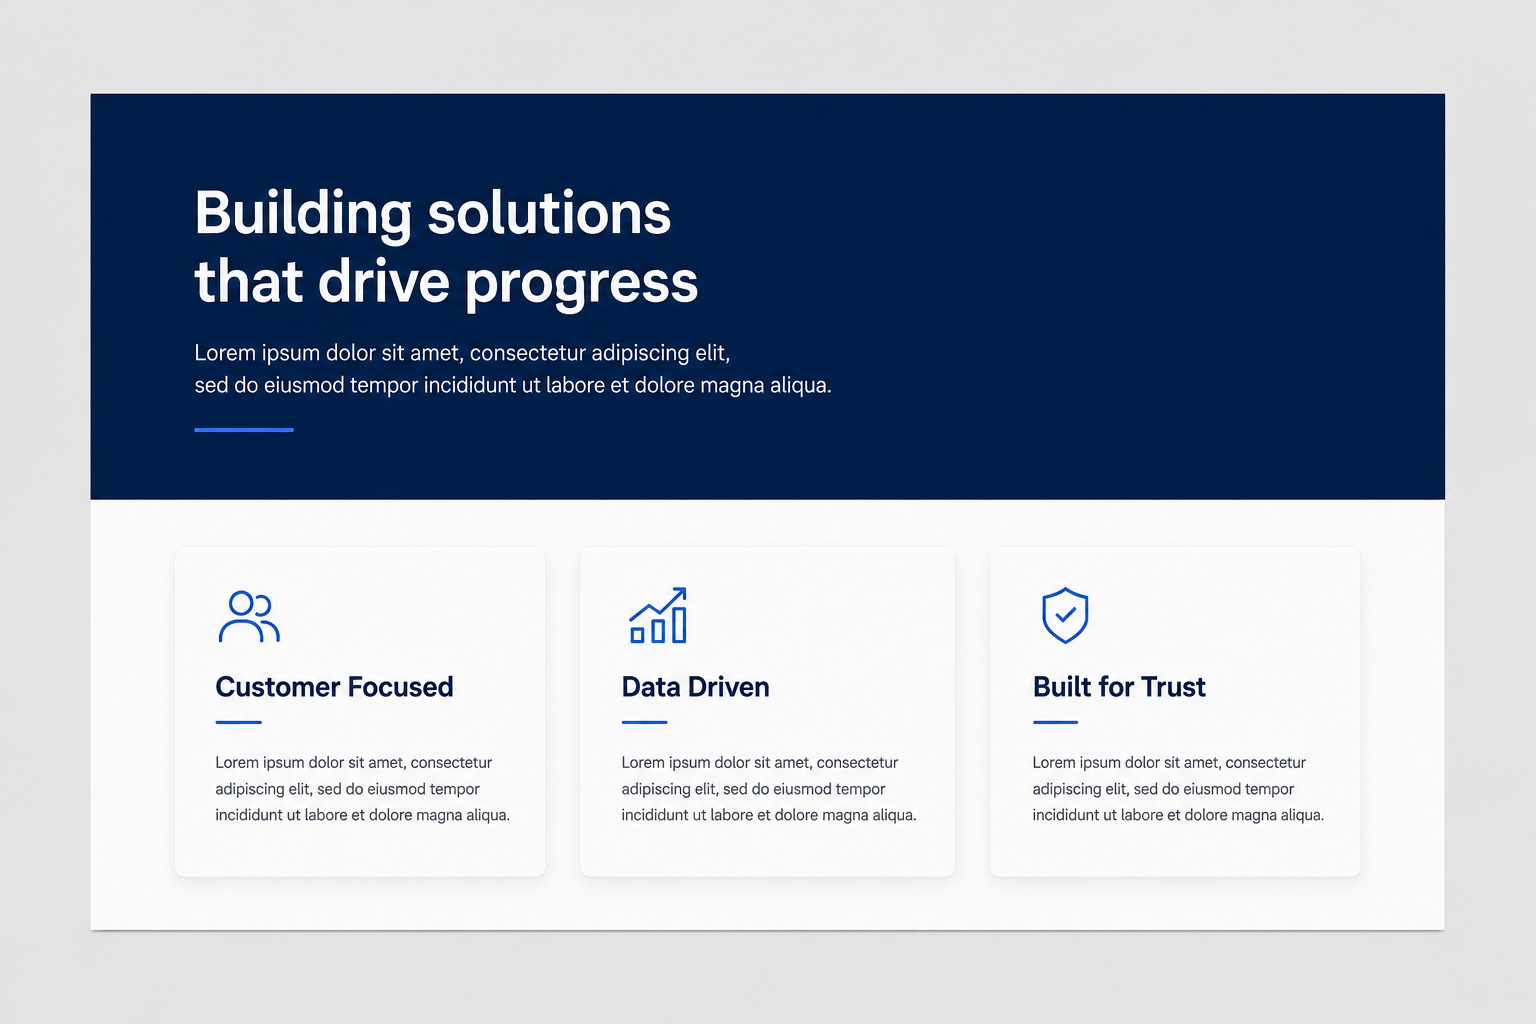
- Insert a long rectangle to divide the slide horizontally into an upper and lower section.
- Allocate the top section to hold your overarching summary text.
- Distribute your supporting, detailed paragraphs into the lower section.
- Use AI tools to refine and segment your raw text into concise points before placing them into the designated sections.
- Use multiple distinct color blocks in the lower section to separate the detailed text and clarify the structure.
Step 2: Configuring the Top Anchor (The Waistband)
Apply these precise techniques to modify the top rectangle based on your specific content volume and visual requirements:
- If the text leaves the right side of the waistband empty, insert an image into that space.
- Apply a gradient transparency effect to this image to blend it seamlessly into the background.
- To add visual interest, extract a subject from an image (cutout) and place it over the transparent background, or directly drag and drop pre-cut transparent assets.
- Replace the standard sharp-edged rectangle with a rounded rectangle or a wave shape to soften the visual style.
- Alternatively, remove the solid shape entirely and use a full-width image as the background for your top summary.

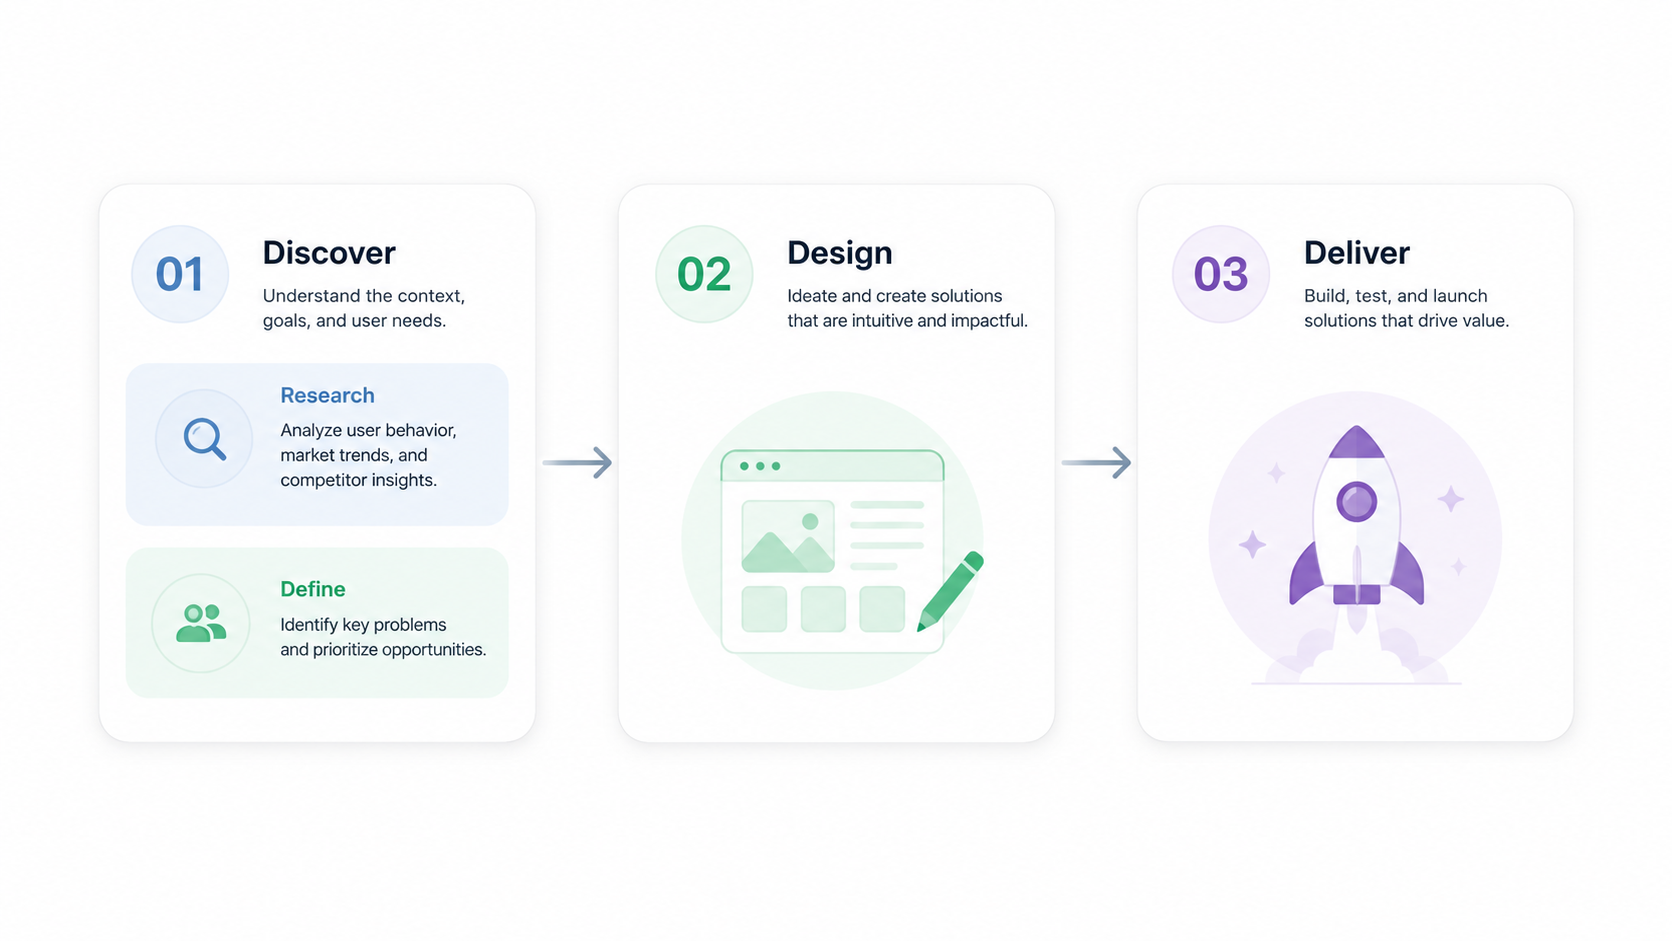
Step 3: Structuring the Bottom Content Matrix
Configure the lower section based on the logical relationship and density of your supporting data:
- If using multiple distinct blocks makes the slide look too complex due to heavy text, use a single large rectangle to hold all paragraphs.
- Ensure you leave adequate spacing between the paragraphs within this single block to maintain readability.
- When the bottom paragraphs have a progressive relationship, insert simple arrows or triangles between them.
- For layouts with multiple rectangular cards, use long directional bar shapes to indicate the flow of the process.
- If a specific text block is too dense and looks like a wall of text, insert smaller color blocks inside it to further categorize the internal content.
- Use these small color blocks or boxes to fill in empty gaps within larger containers, preventing the layout from looking unbalanced.
Step 4: Turn Raw Thoughts into Professional Slides Instantly with Pi
Manual slide design drains your productivity. You no longer need to adjust pixels, calculate proportions, or configure shadow transparency. You simply need to focus on your ideas.
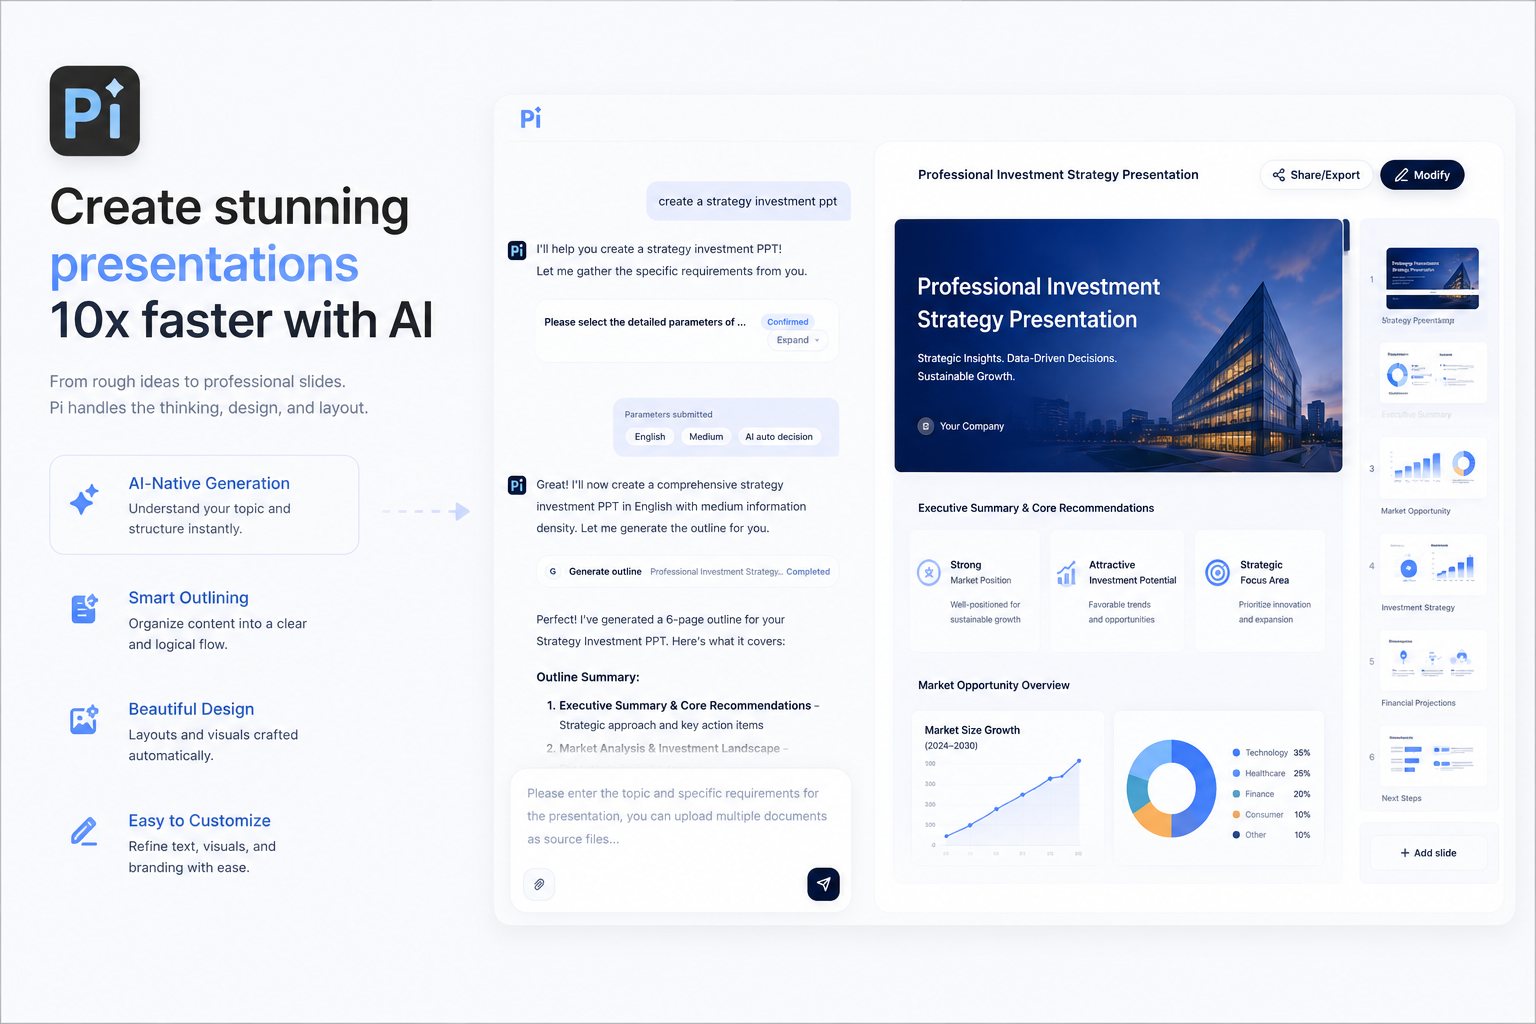
- Type Your Ideas, Let AI Design
Just dump your random thoughts, scattered meeting notes, or unformatted text directly into the platform. The Pi Agent engine processes your input instantly. It automatically extracts key insights and builds the perfect horizontal "Waistband" layout for you. - Studio-Quality Aesthetics Automatically
Pi eliminates amateur design errors. The platform applies professional spacing, typography, and clean container styling automatically. It generates beautiful, polished slides that look completely custom-designed. Your raw text becomes an executive-ready presentation in seconds. - Start Creating Now
Stop wasting hours wrestling with slide formatting. Experience seamless presentation creation today. Input your ideas and watch Pi design your deck instantly.
Discover more


PRESENTATION INTELLIGENCE
@2025 Deepvinci All rights reserved.